Introduction
When developing and testing cloud-native applications, using AWS services can be costly and time-consuming. To mitigate these issues, developers and DevOps engineers often leverage LocalStack, an open-source tool that emulates AWS services locally. LocalStack provides a lightweight, fully functional local cloud environment, enabling teams to develop and test AWS-based applications without incurring cloud expenses.
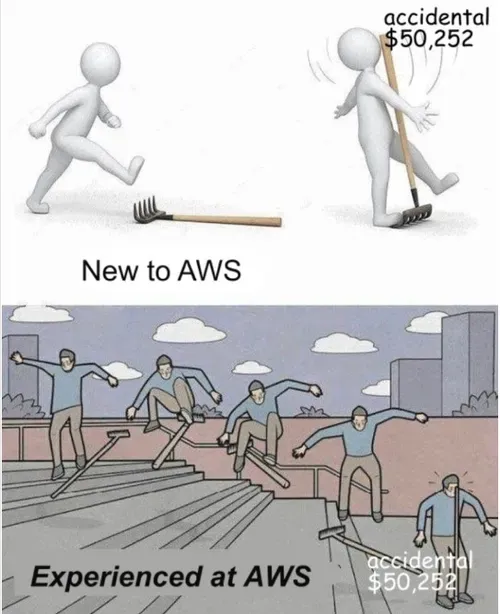
LocalStack is an excellent solution for this. After all, the last thing you want is to set up an AWS environment to hone your skills, only to accidentally incur unexpectedly high costs due to unfamiliarity with pricing plans or a lack of budget alerts.

This post will introduce LocalStack, covering its key benefits, installation process, and usage via the CLI.
What is LocalStack and Why Use It?
LocalStack is a local cloud development environment that simulates AWS services. It is particularly useful for:
- Cost-saving: Avoid AWS charges during development and testing.
- Faster iteration: No need to deploy resources to AWS, reducing development cycles.
- Offline development: Work on AWS-based applications without an internet connection.
- CI/CD Testing: Run automated tests against AWS services in a controlled local environment.
- Infrastructure as Code (IaC) testing: Validate Terraform, AWS CDK, or CloudFormation templates before deploying to AWS.
LocalStack supports over 60 AWS services, including S3, DynamoDB, Lambda, API Gateway, and SQS. It can be used for local development, automated testing, and simulating complex cloud environments.
While LocalStack provides a free-tier version, many advanced AWS services and features (such as ECS, EKS, and ELB) require a LocalStack Pro subscription. Be sure to check the official documentation for details on service availability and pricing.
Installing and Configuring
LocalStack can be installed in multiple ways, but the most common method is using Docker. Follow these steps to get started:
Prerequisites
Ensure you have the following installed on your system:
- Docker (Recommended: Docker Desktop or Docker Engine)
- Python 3.7+ (for the LocalStack CLI)
- AWS CLI (optional, but useful for interacting with AWS services)
Installation via pip
To install LocalStack using Python’s package manager, run:
pip install localstackIt is recommended to install LocalStack within a Python virtual environment to avoid conflicts with system packages. You can set up a virtual environment with:
python -m venv localstack-envsource localstack-env/bin/activate# On Windows use: localstack-env\Scripts\activateRunning LocalStack
Once installed, you can start LocalStack using the following command:
localstack start -dThis will start LocalStack in the background, running on localhost.
If you prefer using Docker directly, you can start LocalStack with:
docker run --rm -it -p 4566:4566 -p 4510-4559:4510-4559 localstack/localstackThis will expose LocalStack’s services on port 4566.
Verifying Installation
To confirm that LocalStack is running correctly, use the following command:
curl http://localhost:4566/_localstack/healthExpected output:
{ "services": { "s3": "running", "dynamodb": "running" }, "status": "running" }Using the CLI
The AWS Command Line Interface (CLI) is a powerful tool for managing AWS services from the terminal. When working with LocalStack, you can execute the same AWS CLI commands as you would in a real AWS environment, allowing seamless interaction with the simulated services.
There are two ways to use the AWS CLI with LocalStack:
Standard AWS CLI
To use the standard AWS CLI, you can install it using pip:
pip install awscliYou can then connect to LocalStack using either an endpoint URL or a custom AWS profile.
Option 1: Configuring an endpoint URL
You can use AWS CLI with an endpoint URL by configuring test environment variables and include the --endpoint-url=<localstack-url> flag in your aws CLI commands. For example:
export AWS_ACCESS_KEY_ID="test"export AWS_SECRET_ACCESS_KEY="test"export AWS_DEFAULT_REGION="us-east-1"
aws --endpoint-url=http://localhost:4566 s3 lsOption 2: Configuring a custom profile
Instead of specifying the endpoint manually, you can create a custom AWS profile for LocalStack. Add this to your AWS configuration files:
[profile localstack]region=us-east-1output=jsonendpoint_url = http://localhost:4566[localstack]aws_access_key_id = testaws_secret_access_key = testThen, use the profile in AWS CLI commands:
aws --profile localstack s3 lsAlternatively, set the profile as an environment variable:
export AWS_PROFILE=localstackaws s3 lsLocalStack AWS CLI (awslocal)
To simplify AWS CLI commands with LocalStack, use awslocal, which removes the need to specify an endpoint or profile manually. Install it with:
pip install awscli-localThen, use it just like the AWS CLI:
awslocal s3 lsFor more details, check the official documentation.
Creating an S3 Bucket in LocalStack
Now, let’s create an S3 bucket using the LocalStack CLI:
awslocal s3 mb s3://my-local-bucketTo verify the bucket exists, run:
awslocal s3 lsStoring and Retrieving an Object in S3
Upload a sample file:
echo "Hello LocalStack" > test.txtawslocal s3 cp test.txt s3://my-local-bucket/Retrieve the file:
awslocal s3 cp s3://my-local-bucket/test.txt -Expected output:
Hello LocalStackConclusion
LocalStack provides a powerful way to develop and test AWS applications without incurring cloud costs. By running AWS services locally, developers and DevOps engineers can increase efficiency, reduce expenses, and improve their CI/CD workflows.
In the next article, we will explore deploying infrastructure using Terraform and LocalStack, simulating a complete cloud environment locally. Stay tuned! 🚀
